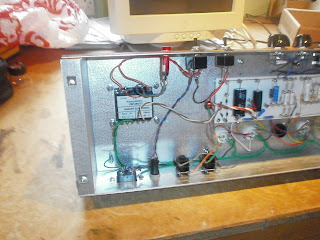
However, the finished internal wiring looks like this:
Not perfect, but the final amp sounds great, with very little hum
Another closeup pic:
Volume and Tone pots, plus input sockets. Simple but very effective.
So thats all the wiring done. The next stage was to test it. Barry from Ampmaker has a very good test procedure for each kit. All the voltages recorded from the various points of the circuit were within the limits, so it was then time to connect it up and test it. Thats the next blog post!


No comments:
Post a Comment